


本地部署与容器部署两种方式任选其一
本地部署
1. 环境准备
数据库部署在同一台也可以
wordpress 下载:https://wordpress.org/download/
官方推荐版本:
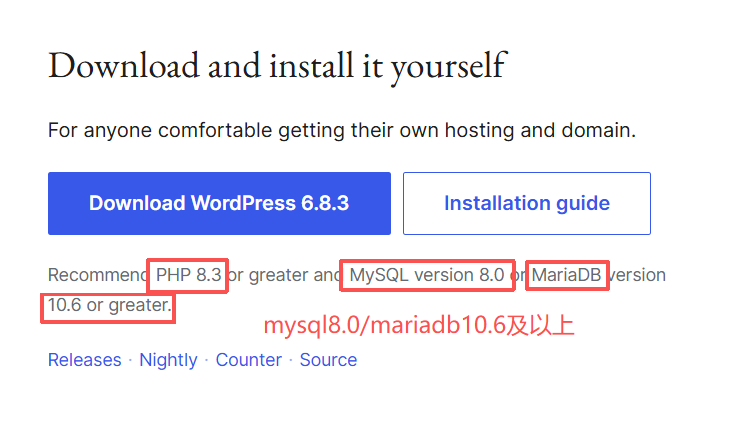
2.安装 Nginx 与配置(官网:https://nginx.org/en/linux_packages.html)
红帽安装
#1.用nginx官方源
vim /etc/yum.repos.d/nginx.repo

[nginx-stable]
name=nginx stable repo
baseurl=http://nginx.org/packages/centos/7/$basearch/
gpgcheck=1
enabled=1
gpgkey=https://nginx.org/keys/nginx_signing.key
module_hotfixes=true

#2.安装nginx
yum install -y nginx

#3.检查80端口是否开放
ss -tunlp |grep 80

#4.启动nginx
systemctl enable --now nginx
systemctl restart nginx
systemctl status nginx

#5.关闭防火墙/开放80端口
systemctl stop firewalld

#6.浏览器访问
http://[你主机ip]

#7.编写配置文件
vim /etc/nginx/conf.d/blog.conf

server {
  listen 80;
  server_name blog.fanxuxu.top;
  root /app/code/wordpress;

  access_log /var/log/nginx/blog_access.log  main;
  error_log /var/log/nginx/blog_error.log  notice;

  location / {
    index index.php;
  }
  location ~ \.php{
    fastcgi_pass 127.0.0.1:9000;
    fastcgi_index index.php;
    fastcgi_param SCRIPT_FILENAME $document_root$fastcgi_script_name;
    include fastcgi_params;
  }
}
Debian 安装
#1.安装依赖
sudo apt install curl gnupg2 ca-certificates lsb-release ubuntu-keyring

#2.导入nginx签名密钥
curl https://nginx.org/keys/nginx_signing.key | gpg --dearmor | sudo tee /usr/share/keyrings/nginx-archive-keyring.gpg > /dev/null

#验证密钥是否正确
gpg --dry-run --quiet --no-keyring --import --import-options import-show /usr/share/keyrings/nginx-archive-keyring.gpg

#输出应包含完整的指纹 573BFD6B3D8FBC641079A6ABABF5BD827BD9BF62

#3.下载官方源
echo "deb [signed-by=/usr/share/keyrings/nginx-archive-keyring.gpg] \
http://nginx.org/packages/ubuntu `lsb_release -cs` nginx" \
  | sudo tee /etc/apt/sources.list.d/nginx.list

#4.设置优先级,防止被系统覆盖
echo -e "Package: *\nPin: origin nginx.org\nPin: release o=nginx\nPin-Priority: 900\n" \
  | sudo tee /etc/apt/preferences.d/99nginx

#5.更新并升级
sudo apt update
sudo apt install nginx -y

#6.防火墙
systemctl stop ufw

#7.启动
sudo systemctl restart nginx
sudo systemctl status nginx
Nginx 的配置
vim /etc/nginx/conf.d/wordpress.conf

server {
  listen 80;
  server_name www.fanxuxu.top;  #更换你的域名
  root  /app/code/wordpress;
  error_log  /var/log/nginx/wpblog-error.log notice;  #错误日志
  access_log /var/log/nginx/wpblog-access.log main;   #访问日志

  location  / {
    index index.php;
  }

  location ~ \.php$ {
    fastcgi_pass  127.0.0.1:9000;
    fastcgi_index  index.php;
    fastcgi_param  SCRIPT_FILENAME  $document_root$fastcgi_script_name;
    include    fastcgi_params;
  }
}

配置完后,在你的win上添加hosts解析
路径:C:\Windows\System32\drivers\etc\hosts
添加: 你的主机ip   你设置的域名
例如:10.0.0.7   blog.fanxuxu.top
3.安装 PHP 与配置
#1.安装php
yum -y install php php-bcmath php-cli php-common php-devel php-embedded php-fpm php-gd php-intl php-mbstring php-mysqlnd php-opcache php-pdo   php-process php-xml php-json

#2.启动
systemctl enable --now php-fpm

#3.修改配置文件进程用户
#查看配置文件
[root@web01 ~]# rpm -ql php-fpm
...
/etc/php-fpm.conf   #主配置文件
/etc/php-fpm.d
/etc/php-fpm.d/www.conf  #子配置文件
/etc/systemd/system/php-fpm.service.d
/run/php-fpm
/usr/lib/systemd/system/httpd.service.d/php-fpm.conf
/usr/lib/systemd/system/nginx.service.d/php-fpm.conf
/usr/lib/systemd/system/php-fpm.service  #系统服务
...

红帽:vim /etc/php-fpm.d/www.conf
ubt:vim /etc/php/8.1/fpm/pool.d/www.conf
#修改以下三个地方
[root@web01 ~]# egrep -n '^(user|group|listen =)' /etc/php-fpm.d/www.conf
24:user = nginx
26:group = nginx
39:listen = 127.0.0.1:9000

#4.检查语法
php-fpm -t

#5.重启服务
systemctl restart php-fpm.service

#检查端口与进程
[root@web01 ~]# ps -ef |grep php-fpm
root        2663       1  0 18:08 ?        00:00:00 php-fpm: master process (/etc/php-fpm.conf)
nginx       2664    2663  0 18:08 ?        00:00:00 php-fpm: pool www
nginx       2665    2663  0 18:08 ?        00:00:00 php-fpm: pool www
nginx       2666    2663  0 18:08 ?        00:00:00 php-fpm: pool www
nginx       2667    2663  0 18:08 ?        00:00:00 php-fpm: pool www
nginx       2668    2663  0 18:08 ?        00:00:00 php-fpm: pool www
root        2680    1229  0 18:09 pts/1    00:00:00 grep --color=auto php-fpm
[root@web01 ~]# ss -tunlp |grep php-fpm
tcp     LISTEN   0        128            127.0.0.1:9000          0.0.0.0:*       users:(("php-fpm",pid=2668,fd=13),("php-fpm",pid=2667,fd=13),("php-fpm",pid=2666,fd=13),("php-fpm",pid=2665,fd=13),("php-fpm",pid=2664,fd=13),("php-fpm",pid=2663,fd=11))
[root@web01 ~]#
4.安装数据库与配置
#1.安装数据库
yum install -y mariadb-server
#2.启动数据库
systemctl enable --now mariadb
#3.检查数据库
ss -tunlp |grep mysql
ps -ef |grep mysql
#4.初始化数据库
mysql_secure_installation
Enter current password for root (enter for none): 回车
Set root password? [Y/n] Y 设置密码
New password: 输入密码
Re-enter new password: 再次输入
提示 Password updated successfully! Reloading privilege tables... Success!
Remove anonymous users? [Y/n] Y 删除数据库中的匿名用户(无用户名的用户,易导致安全问题)
Disallow root login remotely? [Y/n] Y 是否禁止 root 远程登录
Remove test database and access to it? [Y/n] Y 是否删除 test 测试用的数据库
Reload privilege tables now? [Y/n] Y 是否更新权限信息表
#说明:
#1.Linux的root用户用于进入和管理整个Linux系统
#2.数据库的root用户仅仅用于管理Mysql数据库
#5.进入数据库,创建库表
mysql -uroot -p
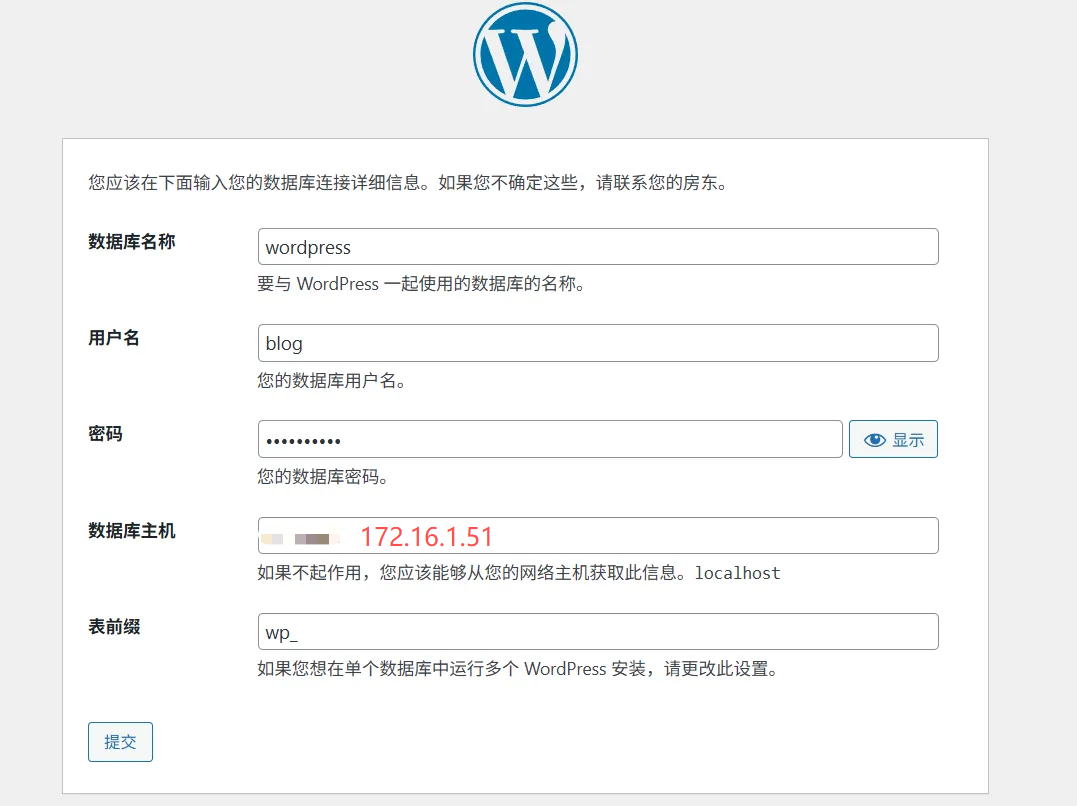
#创建wordpress数据库
create database wordpress;
#添加用户管理wp数据库(老版本mysql),白名单只能从内网172.16.1.0/24登录与访问
grant all on wordpress.* to 'blog'@'172.16.1.%' identified by '1';
grant all on wordpress.* to 'blog'@'localhost' identified by '1';
#新版本mysql:
CREATE USER 'blog'@'10.0.0.%' IDENTIFIED BY '123456';
CREATE USER 'blog'@'localhost' IDENTIFIED BY '123456';
GRANT ALL PRIVILEGES ON wordpress.* TO 'blog'@'10.0.0.%';
GRANT ALL PRIVILEGES ON wordpress.* TO 'blog'@'localhost';
#更新权限信息
flush privileges;
#退出
quit;
#6.测试数据库
[root@db01 ~]# mysql -h172.16.1.51 -ublog -p
Enter password:
Welcome to the MariaDB monitor. Commands end with ; or \g.
Your MariaDB connection id is 22
Server version: 10.3.39-MariaDB MariaDB Server
Copyright (c) 2000, 2018, Oracle, MariaDB Corporation Ab and others.
Type 'help;' or '\h' for help. Type '\c' to clear the current input statement.
MariaDB [(none)]>
5.WordPress 部署
将下载好的 wordprss 传到 web01:https://wordpress.org/download/
#可以用rz从win上传到linux
yum install -y lrzsz
rz

#你nginx子配置文件,配置网站的路径是/app/code/wordpress
#所以你先检查wordpress文件,确保index.php在/app/code/wordpress/路径下
[root@web01 ~]# ll
总用量 27888
-rw-r--r-- 1 root root 28556107 10月 24 12:34 wordpress-6.8.3.zip

[root@web01 ~]# unzip -t wordpress-6.8.3.zip |grep index.php
    testing: wordpress/index.php      OK
    testing: wordpress/wp-content/themes/index.php   OK
    testing: wordpress/wp-content/index.php   OK
    testing: wordpress/wp-content/plugins/akismet/index.php   OK
    testing: wordpress/wp-content/plugins/index.php   OK
    testing: wordpress/wp-includes/blocks/index.php   OK
    testing: wordpress/wp-includes/sitemaps/class-wp-sitemaps-index.php   OK
    testing: wordpress/wp-admin/user/index.php   OK
    testing: wordpress/wp-admin/index.php   OK
    testing: wordpress/wp-admin/network/index.php   OK
[root@web01 ~]#

#创建网站目录
mkdir -p /app/code/wordpress
unzip wordpress-6.8.3.zip
mv wordpress/* /app/code/wordpress/
#确保你下面的路径要和我的一致
[root@web01 ~]# ll /app/code/wordpress/
总用量 232
-rw-r--r--  1 root root   405  2月  6  2020 index.php
-rw-r--r--  1 root root 19903  3月  6  2025 license.txt
-rw-r--r--  1 root root  7425  3月  7  2025 readme.html
-rw-r--r--  1 root root  7387  2月 13  2024 wp-activate.php
drwxr-xr-x  9 root root  4096  9月 30 17:30 wp-admin
-rw-r--r--  1 root root   351  2月  6  2020 wp-blog-header.php
-rw-r--r--  1 root root  2323  6月 14  2023 wp-comments-post.php
-rw-r--r--  1 root root  3336 10月 15  2024 wp-config-sample.php
drwxr-xr-x  4 root root    52  7月 15 18:17 wp-content
-rw-r--r--  1 root root  5617  8月  2  2024 wp-cron.php
drwxr-xr-x 30 root root 12288  9月 30 17:30 wp-includes
-rw-r--r--  1 root root  2502 11月 26  2022 wp-links-opml.php
-rw-r--r--  1 root root  3937  3月 11  2024 wp-load.php
-rw-r--r--  1 root root 51414  2月  3  2025 wp-login.php
-rw-r--r--  1 root root  8727  2月  8  2025 wp-mail.php
-rw-r--r--  1 root root 30081  3月  4  2025 wp-settings.php
-rw-r--r--  1 root root 34516  3月 10  2025 wp-signup.php
-rw-r--r--  1 root root  5102 10月 18  2024 wp-trackback.php
-rw-r--r--  1 root root  3205 11月  8  2024 xmlrpc.php
[root@web01 ~]#

#修改权限,确保nginx用户对这个目录有修改权限
chown -R nginx:nginx /app/code/wordpress
[root@web01 ~]# ll -d /app/code/wordpress/
drwxr-xr-x 5 nginx nginx 4096 10月 24 18:41 /app/code/wordpress/
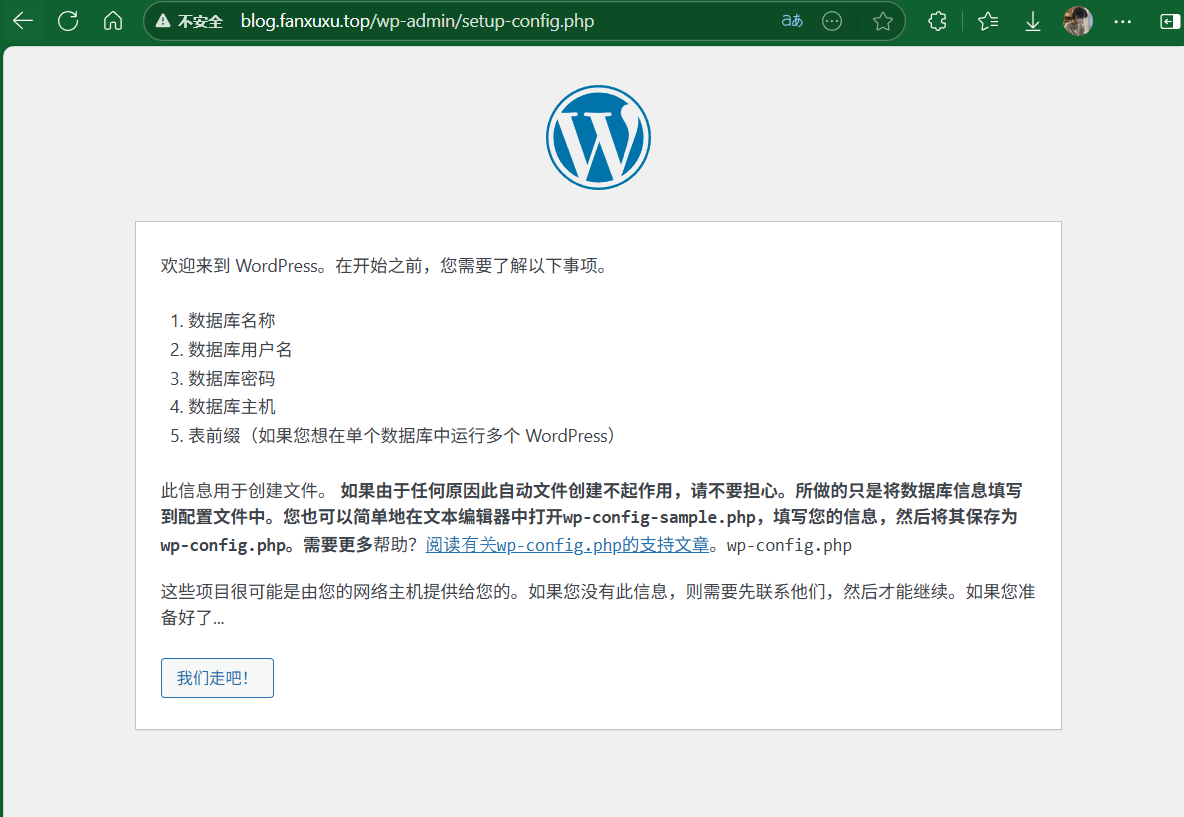
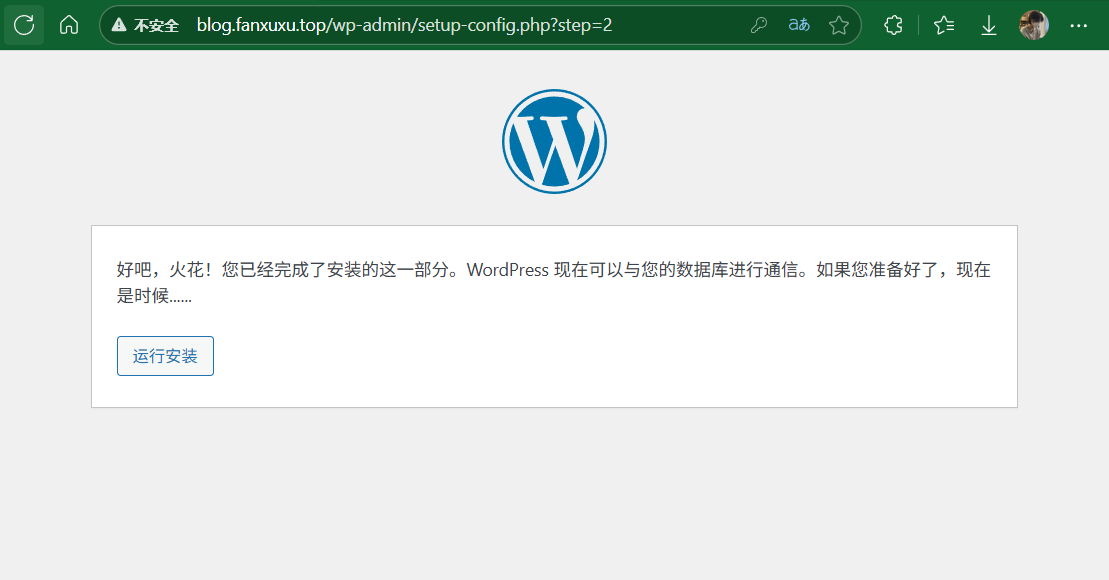
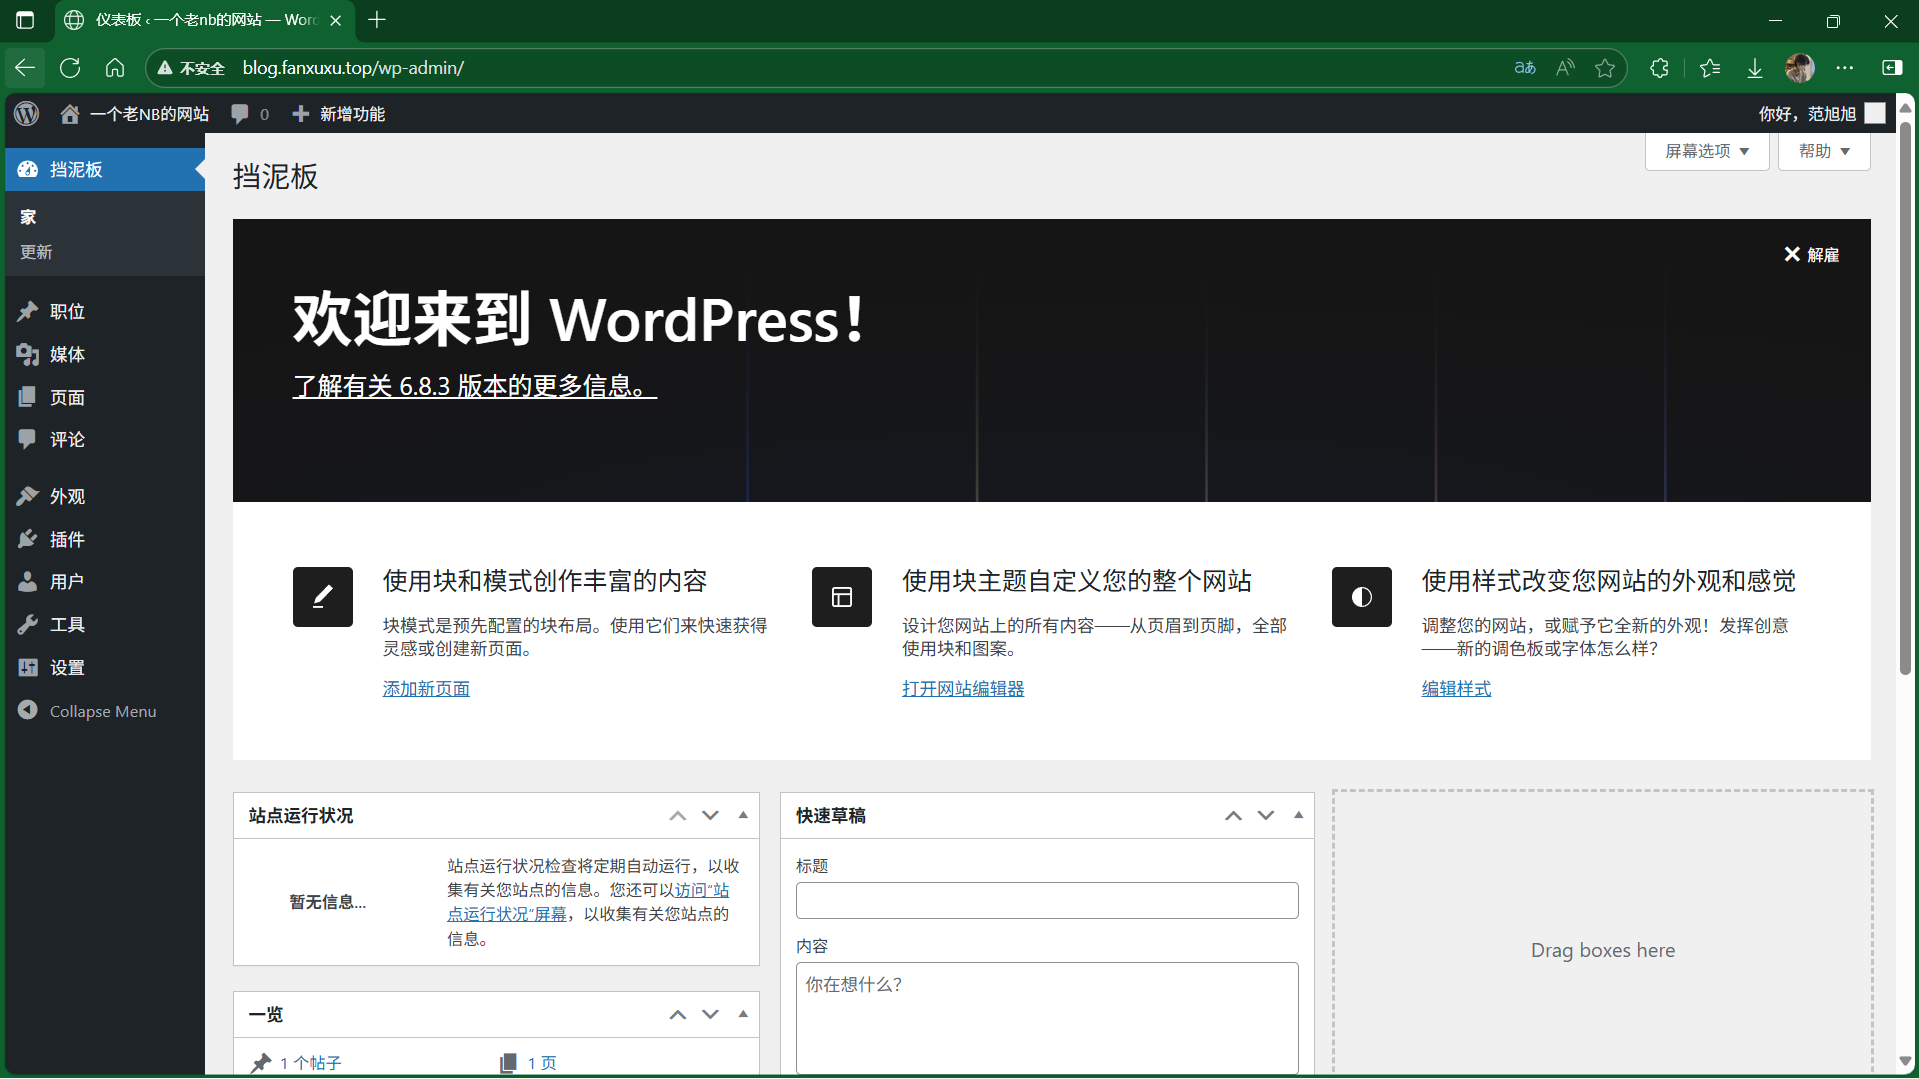
浏览器访问你的域名,替换你创建的信息
6.后续优化
在上传图片或主题时,会报 413 错误,提示词的意思是上传文件太大,此错误是nginx与php限制
vim /etc/nginx/nginx.conf
#添加下面这条:
client_max_body_size 30M;
vim /etc/php/8.1/fpm/php.ini
#修改这条配置:
upload_max_filesize = 50M
容器部署
部署 docker
#提前下载好安装包
1.下载docker二进制安装:wget https://download.docker.com/linux/static/stable/x86_64/docker-20.10.24.tgz
tar xf docker-20.10.24.tgz

chown -R root.root docker
cp docker/* /usr/bin/
麒麟系统:rm -rf /usr/local/bin/runc

2.编辑docker系统文件(让 systemd 系统管理器能够管理 Docker 服务的启动、停止、重启等生命周期操作):
vim /usr/lib/systemd/system/docker.service
[Unit]
Description=Docker Application Container Engine
Documentation=https://docs.docker.com
After=network-online.target firewalld.service
Wants=network-online.target

[Service]
Type=notify
Environment=GOTRACEBACK=crash
#Environment=HTTP_PROXY=10.0.0.1:7890  HTTPS_PROXY=10.0.0.1:7890

ExecStart=/usr/bin/dockerd
ExecReload=/bin/kill -s HUP $MAINPID
LimitNOFILE=1048576
LimitNPROC=1048576
LimitCORE=infinity
# set delegate yes so that systemd does not reset the cgroups of docker containers
Delegate=yes
# kill only the docker process, not all processes in the cgroup
KillMode=process

[Install]
WantedBy=multi-user.target

systemctl daemon-reload
systemctl enable --now docker.service

3.开启内核转发功能:echo "net.ipv4.ip_forward=1" >> /etc/sysctl.conf
立即生效:sysctl -p(会显示net.ipv4.ip_forward = 1)

4.配置docker镜像仓库:vim /etc/docker/daemon.json
地址:https://www.coderjia.cn/archives/dba3f94c-a021-468a-8ac6-e840f85867ea
sudo tee /etc/docker/daemon.json <<-'EOF'
{
  "registry-mirrors": [
   "https://dc.j8.work",
   "https://docker.m.daocloud.io",
   "https://dockerproxy.com",
   "https://docker.mirrors.ustc.edu.cn",
   "https://docker.nju.edu.cn",
   "https://docker.mirrors.ustc.edu.cn",
   "https://docker.registry.cyou",
   "https://docker-cf.registry.cyou",
   "https://dockercf.jsdelivr.fyi",
   "https://docker.jsdelivr.fyi",
   "https://dockertest.jsdelivr.fyi",
   "https://mirror.aliyuncs.com",
   "https://dockerproxy.com",
   "https://mirror.baidubce.com",
   "https://docker.m.daocloud.io",
   "https://docker.nju.edu.cn",
   "https://docker.mirrors.sjtug.sjtu.edu.cn",
   "https://docker.mirrors.ustc.edu.cn",
   "https://mirror.iscas.ac.cn",
   "https://docker.rainbond.cc",
   "https://do.nark.eu.org",
   "https://docker.shootchat.top",
   "https://registry.docker-cn.com",
    "https://docker.m.daocloud.io",
    "https://ccr.ccs.tencentyun.com",
    "https://docker.1ms.run",
    "https://hub.xdark.top",
    "https://dhub.kubesre.xyz",
    "https://docker.kejilion.pro",
    "https://docker.xuanyuan.me",
    "https://docker.hlmirror.com",
    "https://run-docker.cn",
    "https://docker.sunzishaokao.com",
    "https://image.cloudlayer.icu",
    "https://docker-0.unsee.tech",
    "https://docker.tbedu.top",
    "https://hub.crdz.gq",
    "https://docker.melikeme.cn"
  ],
  "log-driver": "json-file",
  "log-opts": {
    "max-size": "1G",
    "max-file": "10"
  }
}
EOF

systemctl restart docker.service

#拉取测试是否可用
docker pull nginx
拉取对应镜像:nginx、mysql、php、wordpress

评论交流
欢迎留下你的想法